In Office Chat, only the group creator can delete the group. Deleted groups and all messages in them are permanently removed from your device, all Office Chat servers, and group member devices.
Please note: This operation is irreversible and the deleted group cannot be recovered.
Here are the steps:
Office Chat for Windows Desktop
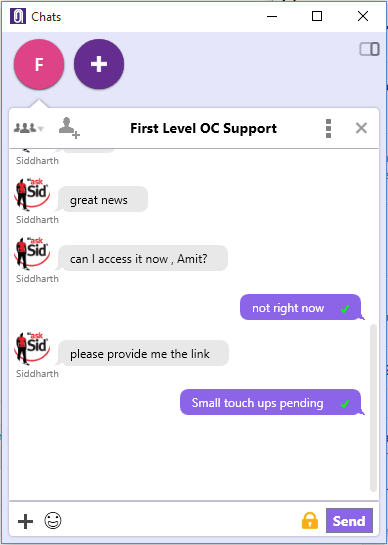
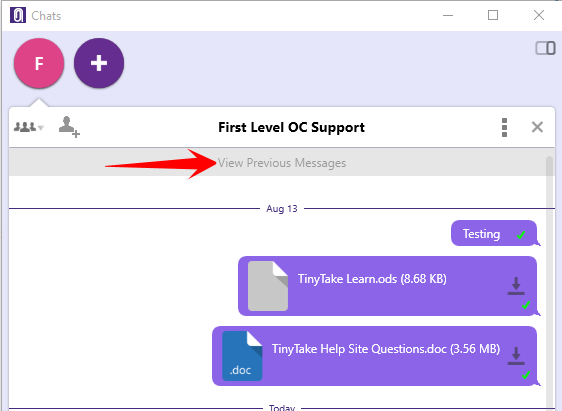
Open the Group’s chat window and click on the 3 dots button to select “Delete Group”. A confirmation message will populate before the group is deleted permanently.

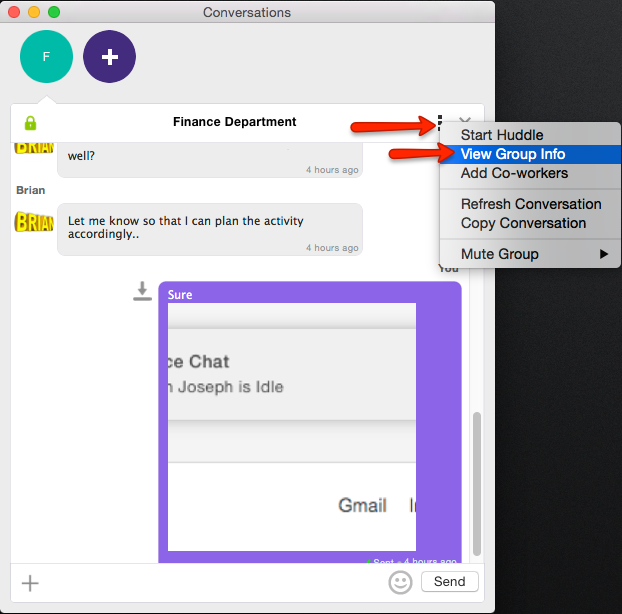
Office Chat for Mac
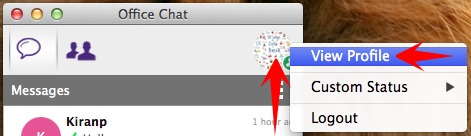
Open the Group’s chat window and click on the 3 dots button to select “View Group Info”.
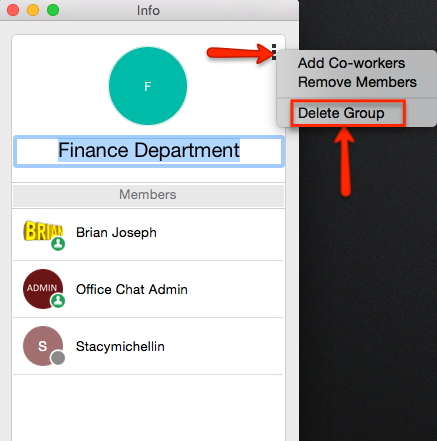
After this, on the Group Info screen again click on the 3 dots button and select the option “Delete Group”. A confirmation message will populate before the group is deleted permanently.
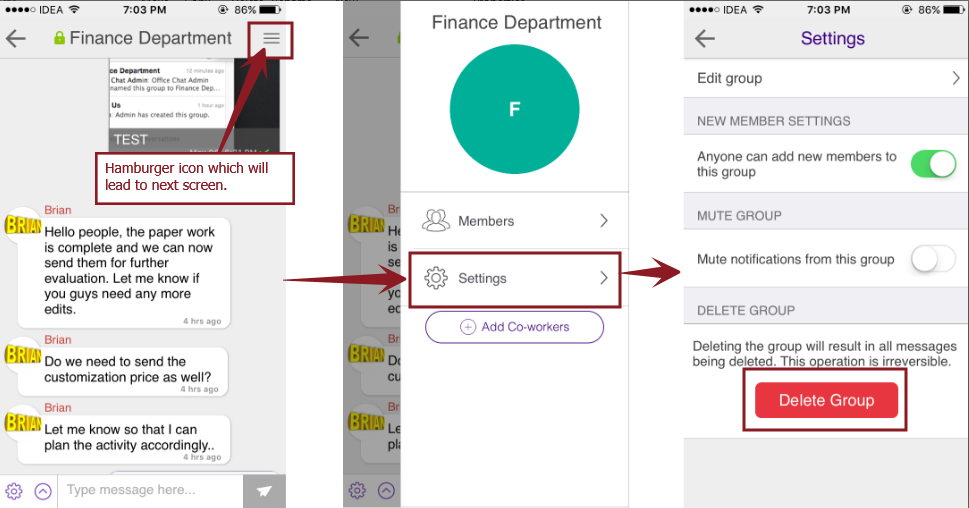
Office Chat for iOS
Open the Group’s chat window and click on the 3 lines hamburger icon on the top right corner. Click “Settings” in the new window. Select “Delete Group” button.
Office Chat for Android
Open the Group’s chat window and click on the 3 lines hamburger icon on the top right corner. Click “Settings” in the new window. Select “Delete Group” button.

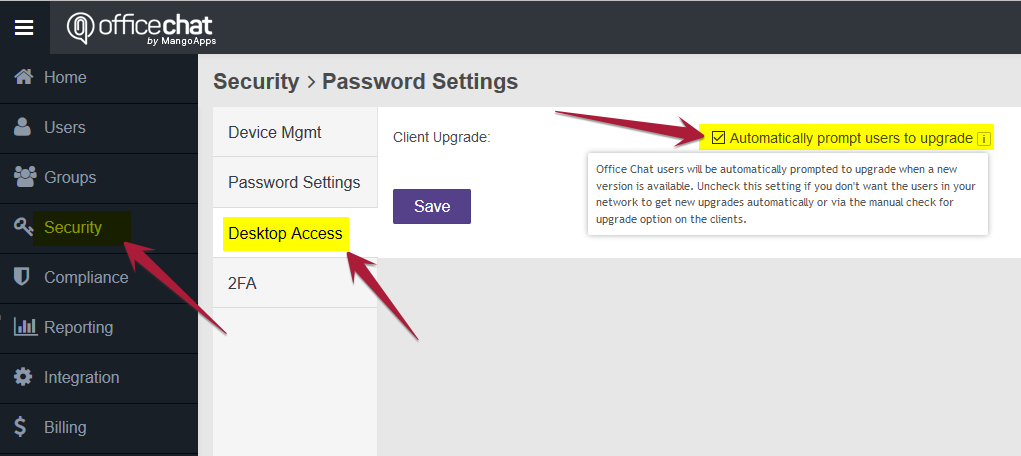
Domain Admin
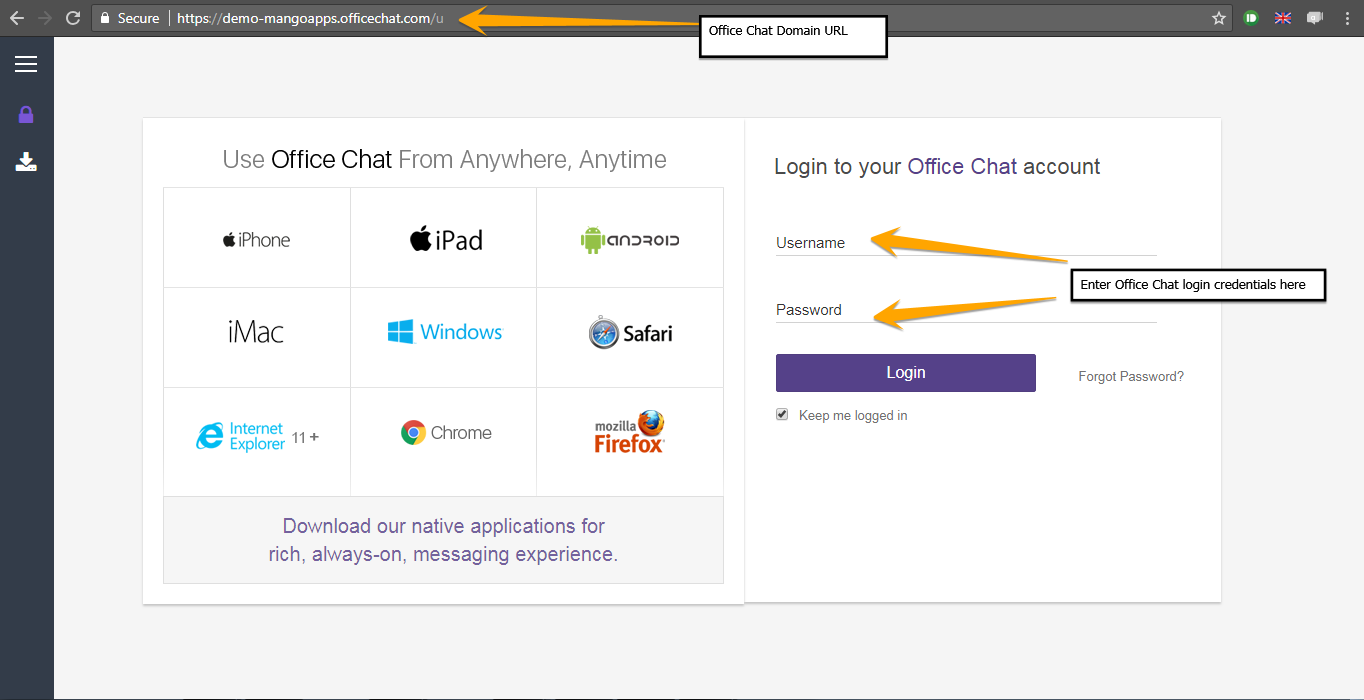
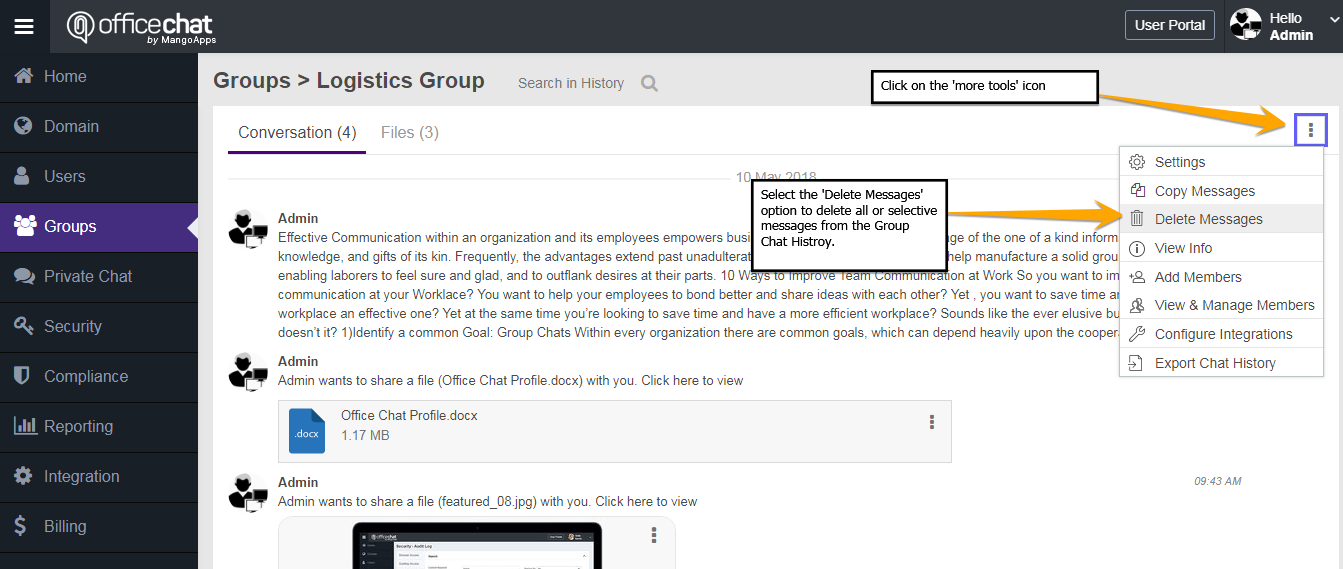
- Open Office Chat on your web browser as the admin.
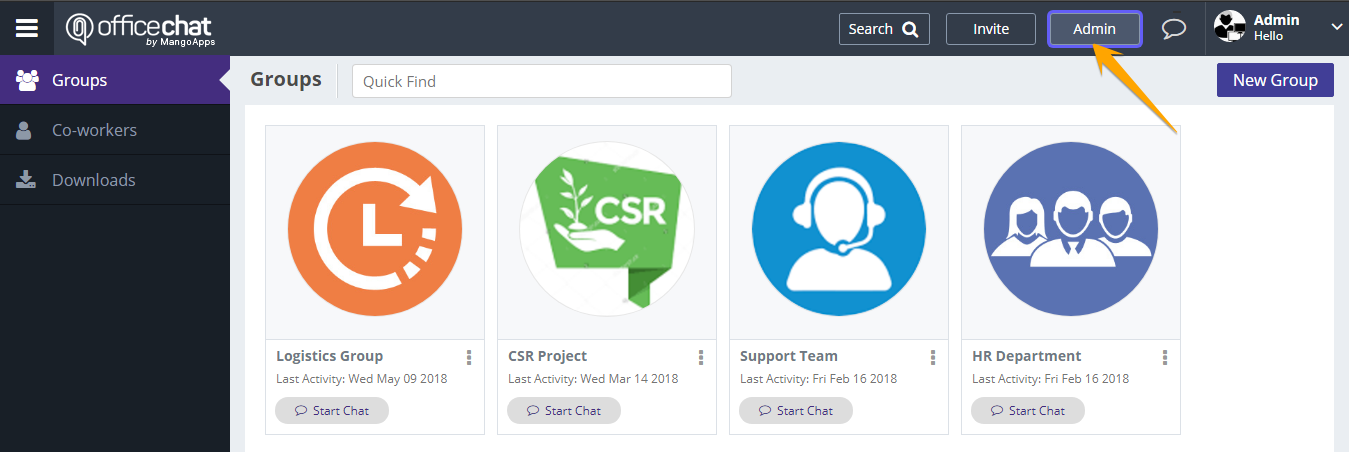
- Go to the Admin Portal on the top right.
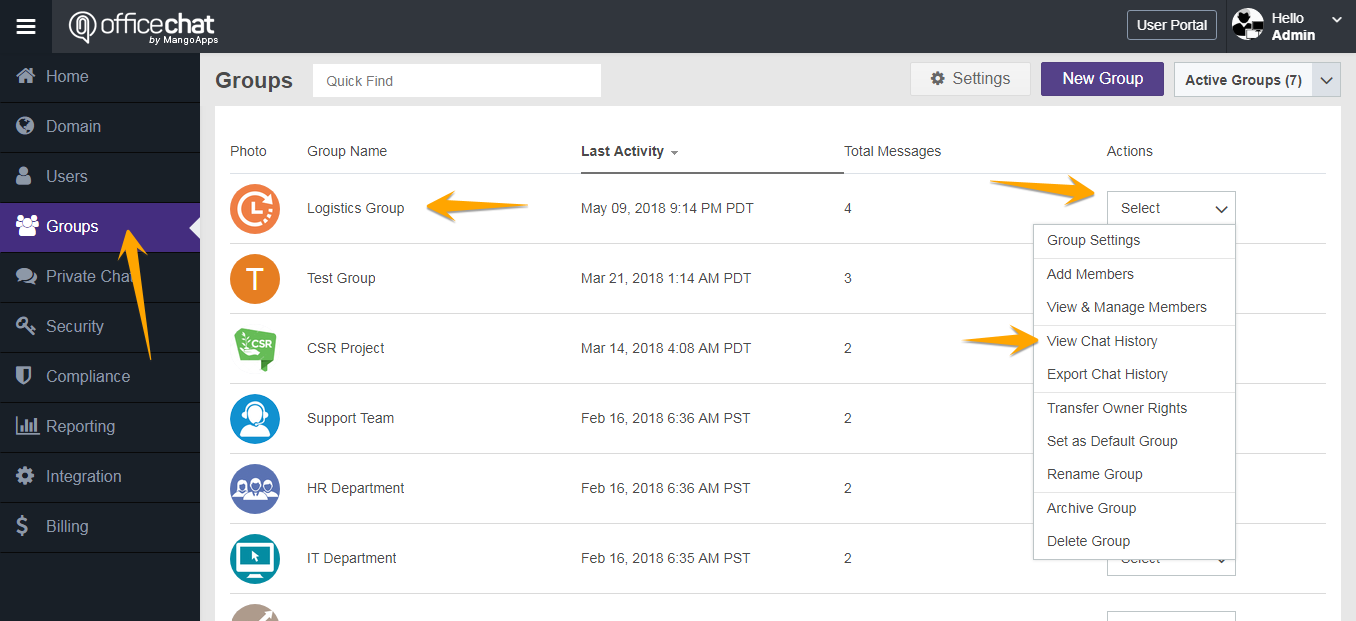
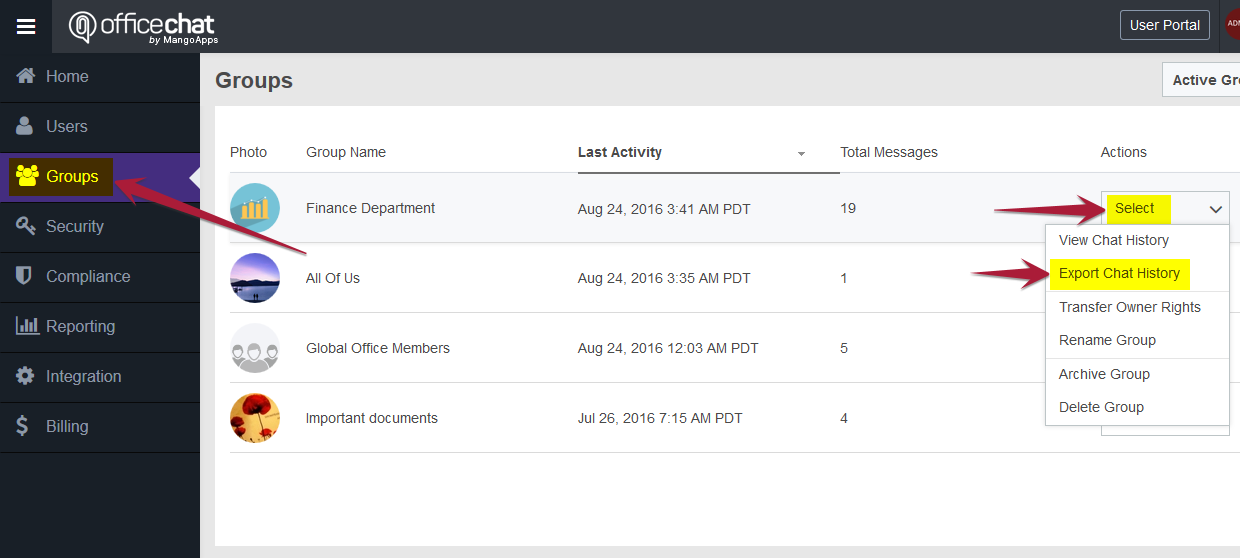
- Click on Groups in the left hand navigation menu.
- Find the group you want to delete
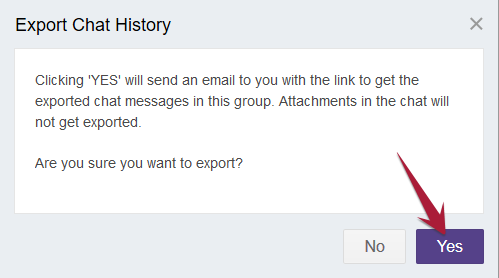
- On the right hand side you’ll see the “Actions” column, in the corresponding column select Delete Group in the drop down menu.
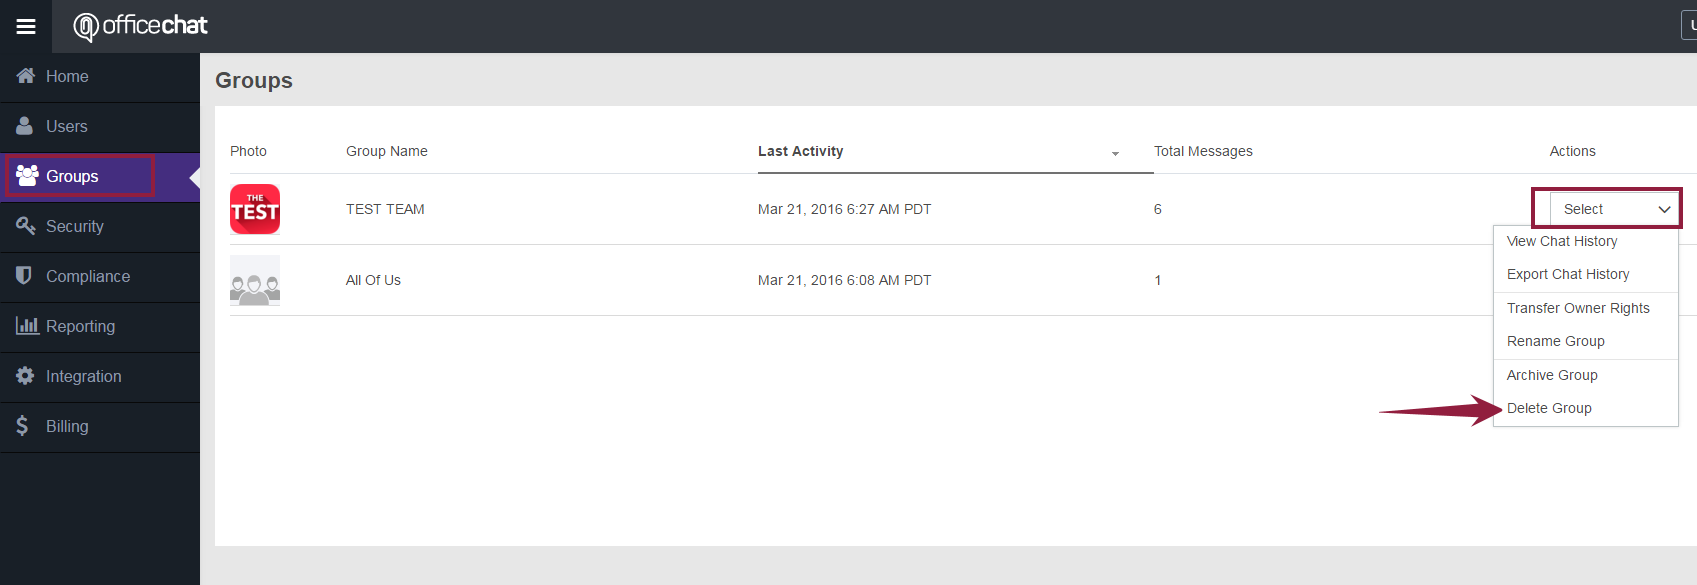
in groups selecting the drop down in the actions.
Additionally, if you are on Office Chat Premium/Enterprise plan, then the network admin can delete any group from the office chat admin portal.