Anyone with an email address can be invited into your Office Chat network. You don’t need to exchange your personal phone numbers.
Option 1: Invite a new user by typing the email address in the “To List”
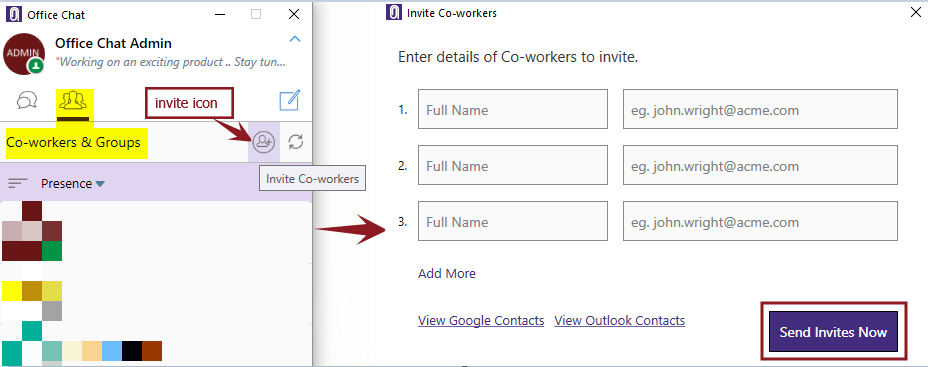
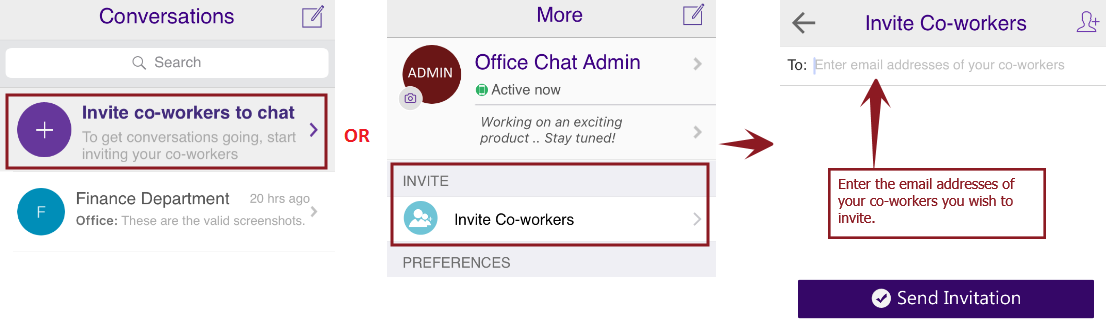
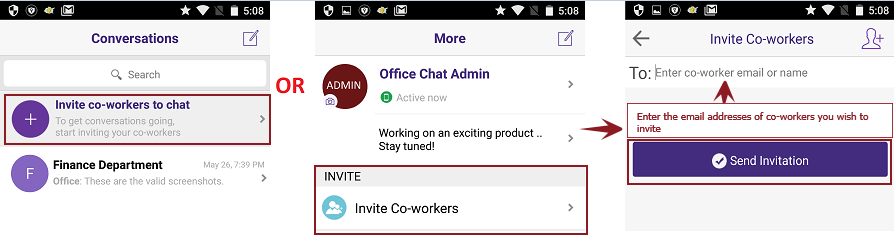
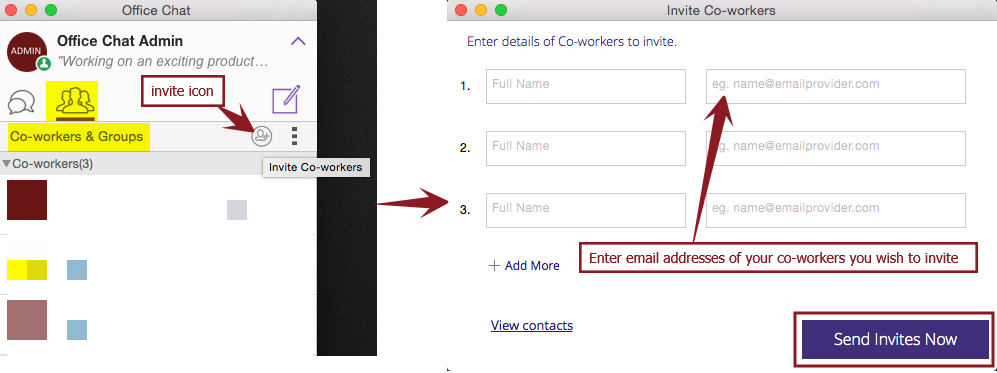
Click on the “Invite” menu item in any of the office chat clients. Enter valid email addresses to invite and click on send the invitation button. Invited users will receive an email with sign in instructions on how to login into your network
Office Chat for Windows
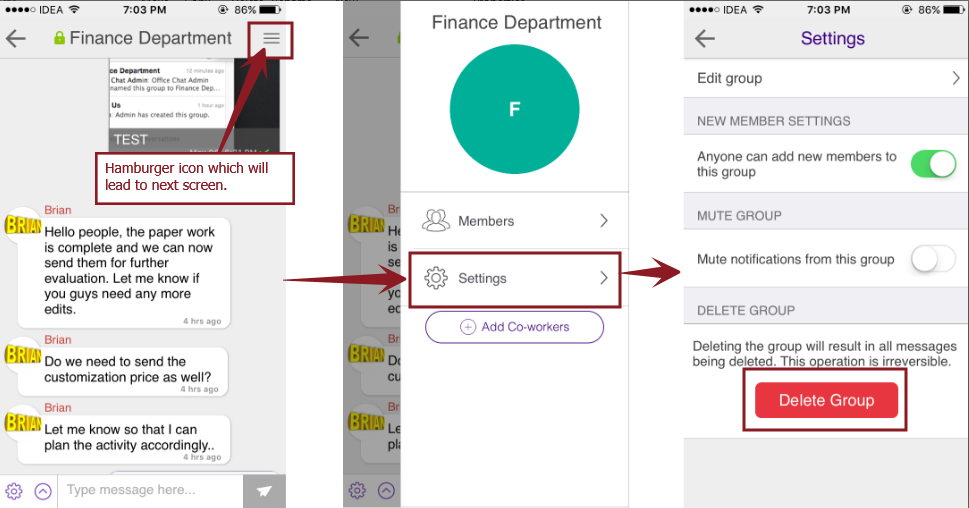
Office Chat for iOS
Office Chat for Android
Office Chat for Mac
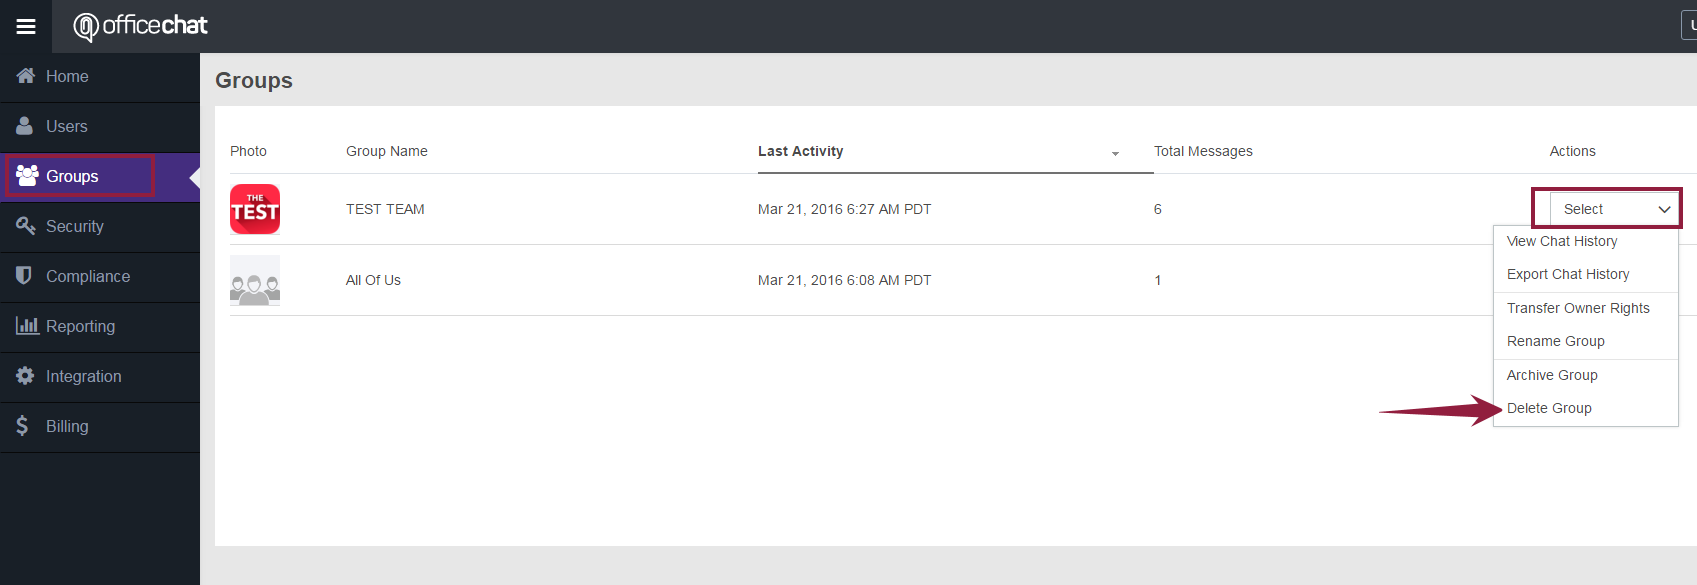
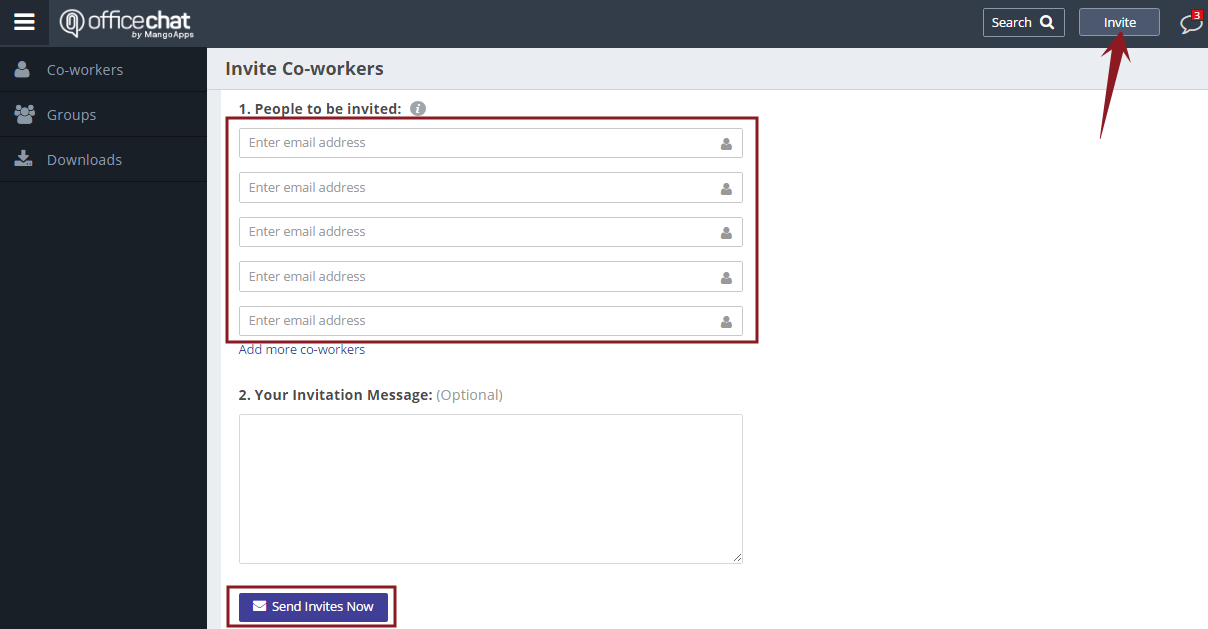
Office Chat for Web
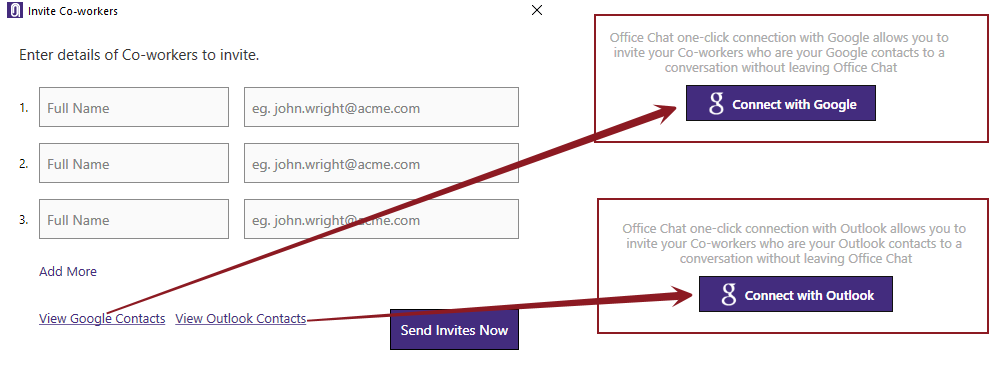
Click on “Invite” button on the top bar and then enter valid email addresses of the co-workers you wish to invite. Enter invitation message (optional) and click on the “Send Invites Now” button.
Option 2: To invite a new user by connecting with your Google, Outlook and phone contacts.
Office Chat for Windows
For Google contacts, enter your gmail account details on the screen which is shown after you click on “Connect with Google” button.
For Outlook contacts, click “Connect with Outlook” button in order to import the list of your Outlook contacts.
Office Chat for iOS
For Google contacts, enter your gmail account details on the screen which is shown after you click on “Connect with Google” button.
Phone contacts load once you allow the app to access your phone contacts.

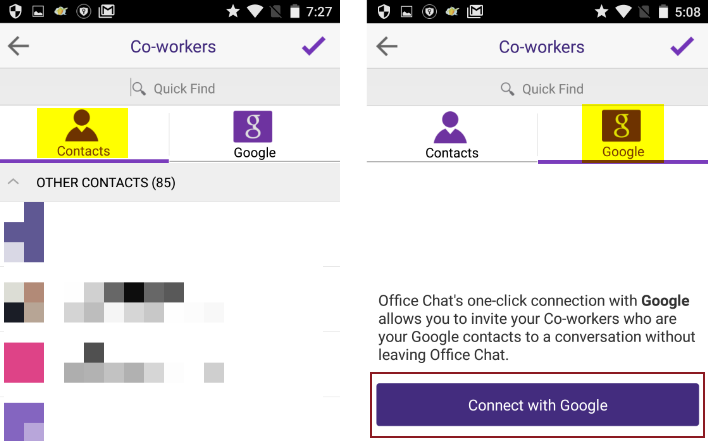
Office Chat for Android
For Google contacts, enter your gmail account details on the screen which is shown after you click on “Connect with Google” button.
Phone contacts load automatically.
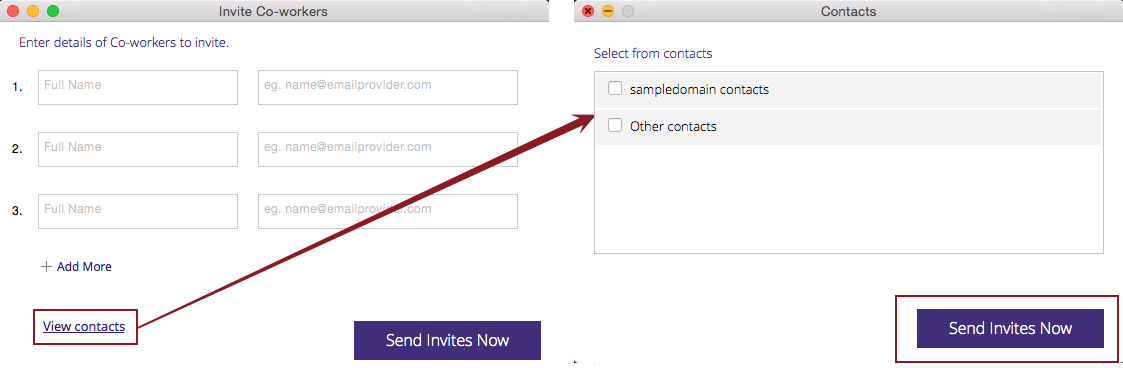
Office Chat for Mac
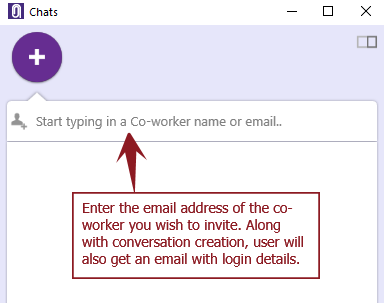
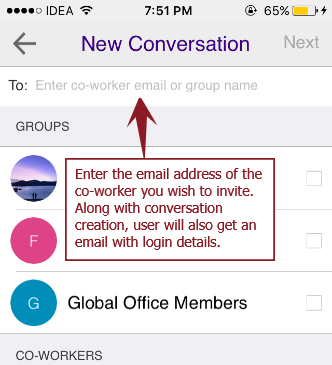
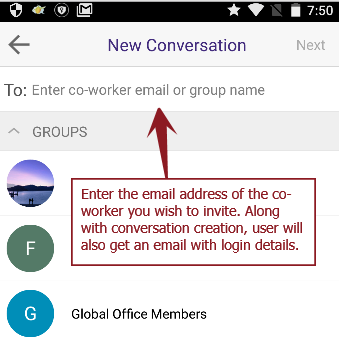
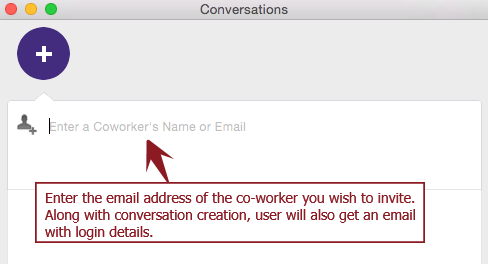
Option 3: Users can also enter the email addresses directly in the To: field on Compose new conversation screen.
Office Chat for Windows
Office Chat for iOS
Office Chat for Android
Office Chat for Mac
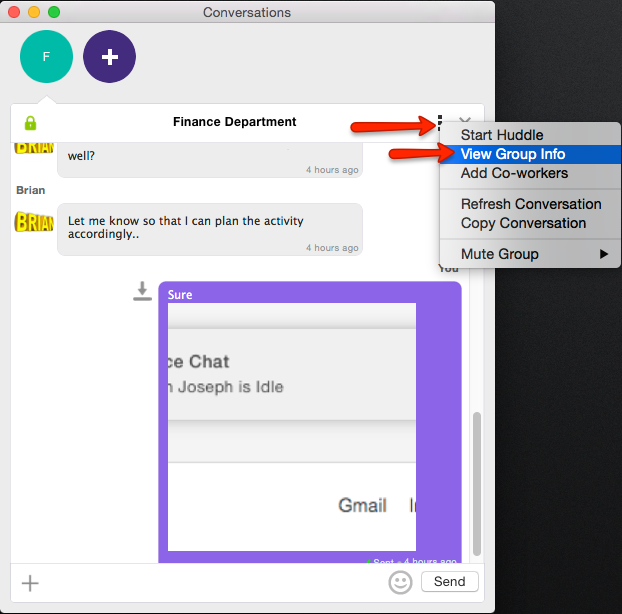
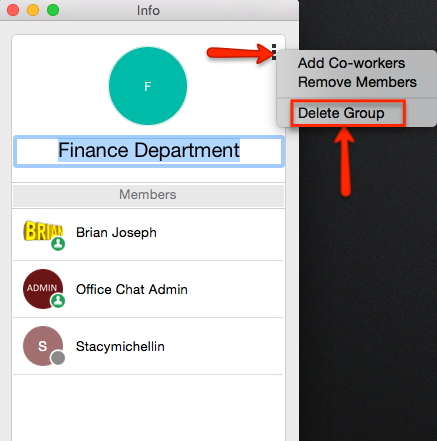
How to remove users from a group
you need to be logged into the desktop client. Here is a video on the windows desktop client.